If you are reading this please do not mistake me for a terrorist.
I'm not a terrorist.
It was November 2013. On Thanksgiving day, my cousin and my brother's friend came over and we were enjoying the break by playing Left 4 Dead and CS:GO.
Earlier that day we went to a football game, so we were pretty much set on staying indoors where it was warm.
My mom asked me if I wanted this metal rack from the disposable baking tines.
My mom asked me if I wanted this metal rack from the disposable baking tines.
For some reason after hours of CS:GO and a metal rack I got an idea: What if we could play CS:GO in real life? With robots, of course. What if you could control a physical body using WASD, ctrl, spacebar, and all of these game controls?
For the next few months my brother and I worked on this robot. Since it was our first time building one of these, we were both trying different things to see what worked and what didn't.
The goal was to build a remote controlled robot (by remote I mean half way across the globe) that had a live camera feed and could be controlled using the typical keyboard game controls.
So we decided to build something that used internet to control a tank-like machine that could fire pellets from an airsoft gun.
Here is a montage of pictures which will show you the process.

We had this broken RC car. It can be a racecar or a bulldozer.

Of course you will need these

A gun is necessary yes.

Taking apart the car. That's a nice PCB, let's rip it out!

Bye!

Some silly gear locking thing. Remove that.

Yea, remove this for real.

Simply four wires to the motors.


Use a battery to test for the polarity of the motors

Soldering more solderable wires to the motor

After finding the polarities, remember it by marking down the wires. I bent a wire to tell me which one was ground.


SG90 servo motor

We will need these. Thanks HTHS for letting me steal borrow some.

Some string and some tape for the SG90 to attach to the trigger

Zip-tie down the safety. Who needs safety? Pft.

Tie down the motor like so

Start wrapping in tape

I added a nice cardboard plate for flatness sake

It should look like this. Make sure your string is tight enough.


Glue down the car into bulldozer mode


That is a nice chassis.


We will need a way to hold the gun onto the servo motor. I borrowed some plexiglass from school

Make the first bend 90 degrees, one inch.

Then, you will need to use the gun itself for accurate measurements

That looks nice! I glued on a scrap piece to close off what I could not finish.

Drill a hole in the center

Test your servo motor (SG5010 was strong enough to lift the gun, but needs external power)

Glue the servo head onto the gun holder. Before doing this, I had to calibrate the servo motor to 90 degrees, so that when it goes 0 degrees it points up, and 180 degrees points down.


Here is what holds the servo to the chassis

I bent this to fit the servo

Bent this to be screwed onto the chassis
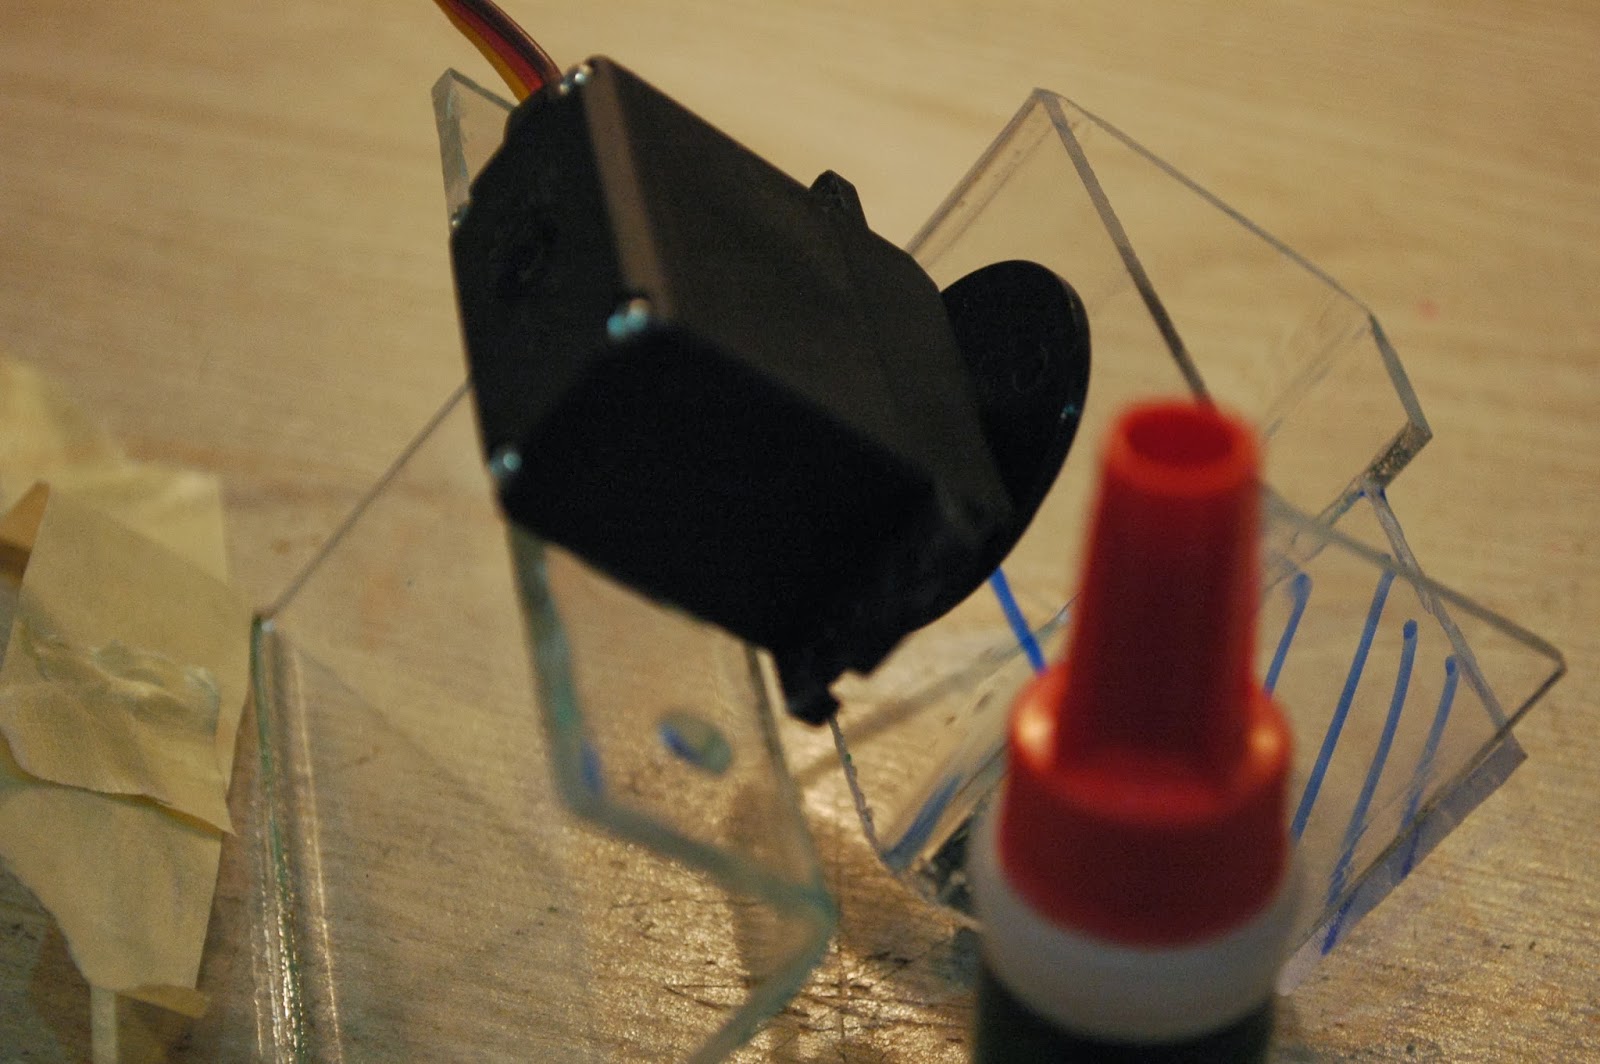
Krazy-Glue works really well with plexiglass, better than lexand glue.
You can see a horizontal blue line for calibration.

It holds sturdily


The part marked red is what I need to cut off.


Now the plexiglass can fit on top perfectly

Drill some holes...


Very swag.

The bolts are a bit long but it works

ULTRA SWEG.

The control PCB I designed.

My brother is in charge of programming the RPi. I did the hardware so he can easily interface with it.

I labelled the cables from the control board


Using two relays for an H-bridge.

3.3v logic works fine with servo motors. I had to use transistors and darlington pairs to operate the relays and power control

Rainbow bacon.
That was really brief. I didn't get everything right the first time. Below are designs that failed:

I was going to use gears. I didn't use gears.

I didn't hold down safety this time.

My first H-bridges used transistors. There was a huge current drop.


I had a PCB for design 1 H-bridge.


Don't use these H-bridges


Mounting the failed H-bridges


I was going to use this to stand up the gun.


I decided that the gun would be too heavy and the cantilever force was too strong.
I will update you with the working robot, and videos of how we calibrated the trigger servo and the gun turning servo.
Ask questions in the comments, Thanks!
No comments:
Post a Comment