Back in 8th grade when I had a lot more time on my hands, I always wanted to build a decent pair of speakers.
I had built several speakers back then already: some were literally just speakers with an amplifier circuit, all exposed
some were speakers people threw out and I modified them
most of them were just ugly, delicate, and not presentable or usable in everyday conditions.
This folder of links has been on my Google Chrome browser for 4 years:
The links that I told myself I would look at eventually:
This is where I stopped.
Along with needing to acquire a bluetooth module, a battery, leather, wood, and an audio jack, I also needed to buy a heat gun.
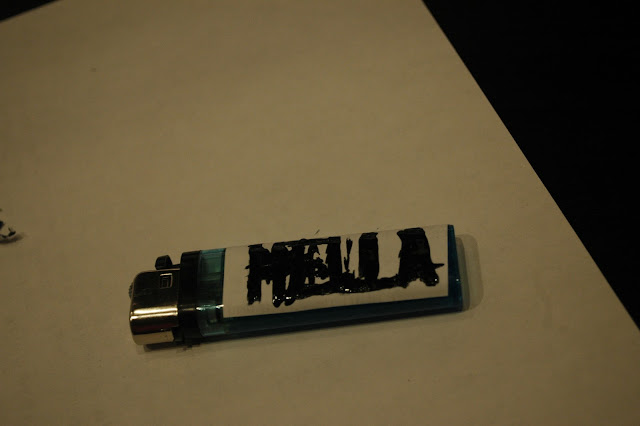
Usually when I bend small pieces of plexiglass I use a cigar torch lighter:

I had built several speakers back then already: some were literally just speakers with an amplifier circuit, all exposed
some were speakers people threw out and I modified them
most of them were just ugly, delicate, and not presentable or usable in everyday conditions.
This folder of links has been on my Google Chrome browser for 4 years:
The links that I told myself I would look at eventually:
- http://ccs.exl.info/cust_cr.html - this link was useful for finding out what components I needed to build a real nice amplifier circuit
- http://www.diyaudioandvideo.com/Guide/BuildSpeakerBox/ - this page gives data for calculating what the dimensions of your speaker box should be based on what tones you want to resonate most. It also gives data on what material you should use for your speakers, and what find of damping structure you should put inside your speaker box.
- http://www.circuits.dk/calculator_multi_layer_aircore.htm - calculating the amount of turns you should have on an inductor coil for optimal bass response
- http://www.jlaudio.ca/header/Support/Tutorials/Enclosure+Bracing/Tutorial%3A+Enclosure+Bracing/624625 - this discusses the structure inside your speaker box so that air can move through it
- http://www.instructables.com/id/DIY-Hi-Fi-WiBAQ-Speakers/#intro - general instructions on how to build speakers!
As you can see, building speakers is a very involved process. This is probably the reason why I did not go forth with this project back in 8th grade: the amount of things I needed to consider were daunting and I put it off.
- I would need to consider how much money I wanted to spend on what type of amplifier circuit: Class A? B? C? D? each class gives a different sound quality, but A is much more expensive than D, and much less power efficient. It's the difference between vacuum tube amplifiers, and a regular transistor based amplifier:
vs
- I would need to consider the shape of my speaker and the structure inside. There are two ways to approach this: a ton of trial and error or a ton of math.
- I would need to consider what material I would build my box out of. Should I use the acrylic sheets I have lying around, or should I invest in MDF board for higher sound quality?
So I never took the time to consider all these things.
Yesterday I looked at the project again for the first time. I realized that sometimes you need to stop thinking and just do: otherwise you stay stuck.
Here are the plans for the speaker:
- Triangular prism shape (like a Toblerone box)
- Build out of acrylic sheet, covered with faux leather
- Wooden end caps
- two speakers in the front, two tweeter speakers on the side
- Class D amplifier (This time around I don't think I want to get involved with figuring out circuitry, so I'm going to use a prebuilt Class D amplifier, the PAM8403. It's low voltage, cheap, and relatively high quality)
- Bluetooth and auxiliary connectivity!
- 2600mAh rechargable battery
It might not be the highest quality or the most optimal design, but it's better to start something than to not do anything at all.
Here is the progress so far.
You need an 11" x 14.75" sheet of acrylic
Some random trash for dampening the inside of your speaker box (this is so that when the speaker shakes, the whole speaker box doesn't shake and cause distortion)
Speakers and tweeters
Switch, PAM8403, some nuts, LED + resistor (for power indication), 100uf capacitors for the high pass filter for tweeters
Cut the sheet to size
mark down where you need to bend it (for the equilateral triangle shape)
mark out where you need to cut the holes for the speakers
nice fit!
attempt to bend plexiglass
Along with needing to acquire a bluetooth module, a battery, leather, wood, and an audio jack, I also needed to buy a heat gun.
Usually when I bend small pieces of plexiglass I use a cigar torch lighter:
I don't have a nichrome wire heating element to bend a whole sheet this large...
For now this project is at a pause, but I will keep updated on the progress!


