Showing posts with label Calculator. Show all posts

Thursday, July 28, 2016

Casio CA-501 Restoration

I think it's safe to say that I'm in love with Casio
Here's a little background

After WWII, Japan was able to rebuild and many new companies sprouted from the ashes. One of these companies was Casio, in 1946.
Their first invention was a ring that could hold a cigarette. 
After the success from the yubiwa pipe, the company used the profits to make a calculator that worked with solenoids instead of hand crank gears. The calculator had a single keypad (instead of a full keypad
and a single screen to display instead of three. This is basically what your modern day calculator looks like: you can thank Casio.

After that they built a bunch of other electronics like keyboards, PDAs, clocks, printers, etc etc and watches.
AND WATCHES.

I admire Casio for their true talent for their feats in electrical engineering. I'm a big fan of low level programming and not a huge fan of higher level things like Computer Science, so I really admire Casio for the cute gadgets that they make.

I also appreciate most of old technology, and watches, and 80s fashion. I stumbled upon an old Casio catalog

http://www.angelfire.com/80s/ron28/casio/index1.html
Nostalgia.


Scroll down and you'll find the CA-501.
I've been looking for a calculator watch for along time with certain features
  • Solid single module (as compared to a Casio DBC610A, which you can see is sort of two parted)
  • Flat band (this is very native to the 1980s. Look at Gerald Genta's design for the royal oak and other watches designed in the 80s. Flat bands are hard to find these days)
  • Full metal
  • Water resistant
And I stumbled upon the CA-501.


What a beauty.

Most of these watches are extremely damaged from wear and time. You can purchase a scratched up and beaten CA-501 for about $75 on eBay.

I really wanted one.


So I bought one for $30.
As you can see the watch doesn't work. The module itself is damaged.


While the module was damaged there were no signs of wear on the watch at all. No scratches, no stretch on the band.
I love the flat link band.


CA-501


In the past I have had experience with Casio watches. There are multiple models of watches but certain models can share the same electronic module on the inside.
What does that mean?
This watch, according to the 1984 catalog, uses the Module No. 437. I just need to obtain a working module and replace it in this watch, and I will have a CA-501 in almost brand new condition.
I'm not sure how valuable the watch would be, but probably greater than $75.

Luckily for me, Casio still sells watches that use the 437 module.
This is the CA-53, a calculator watch you can buy for $15 at your local Walmart.


The beauty of this is that if any parts break, or buttons get lost on the CA-501, most of them are interchangeable with teh CA-53


The bottom


First step of switching modules is removing the back cover. The CA-501 has an interesting case. I needed to remove the bands before I could remove the back.


I used a flathead screwdrived to pry open the case


The back cover is clip on...

The broken module, with battery removed.

Gently pry out the module.

Open up the CA-53 to access the working module.

A tiny comparison of the modules. The CA-53 seems to use a more updated module.
However both are 437 modules. They will fit if we switch them.


This is surgery.

The new module is inserted

Something you might notice different is that the modules seem to be flipped... You can notice some features on each module that seem like they're mirror images. This created a bit of the problem. The piezo buzzer was in the wrong place now.

As you can see on the CA-53, the buzzer is usually on the bottom of the caseback.

On the CA-501 the buzzer was on the top of the caseback.


Whatever, just rotate it 180.


And snap the case back on! Of course it's upside down now, but it works. No one will ever see under a watch.

It's alive!
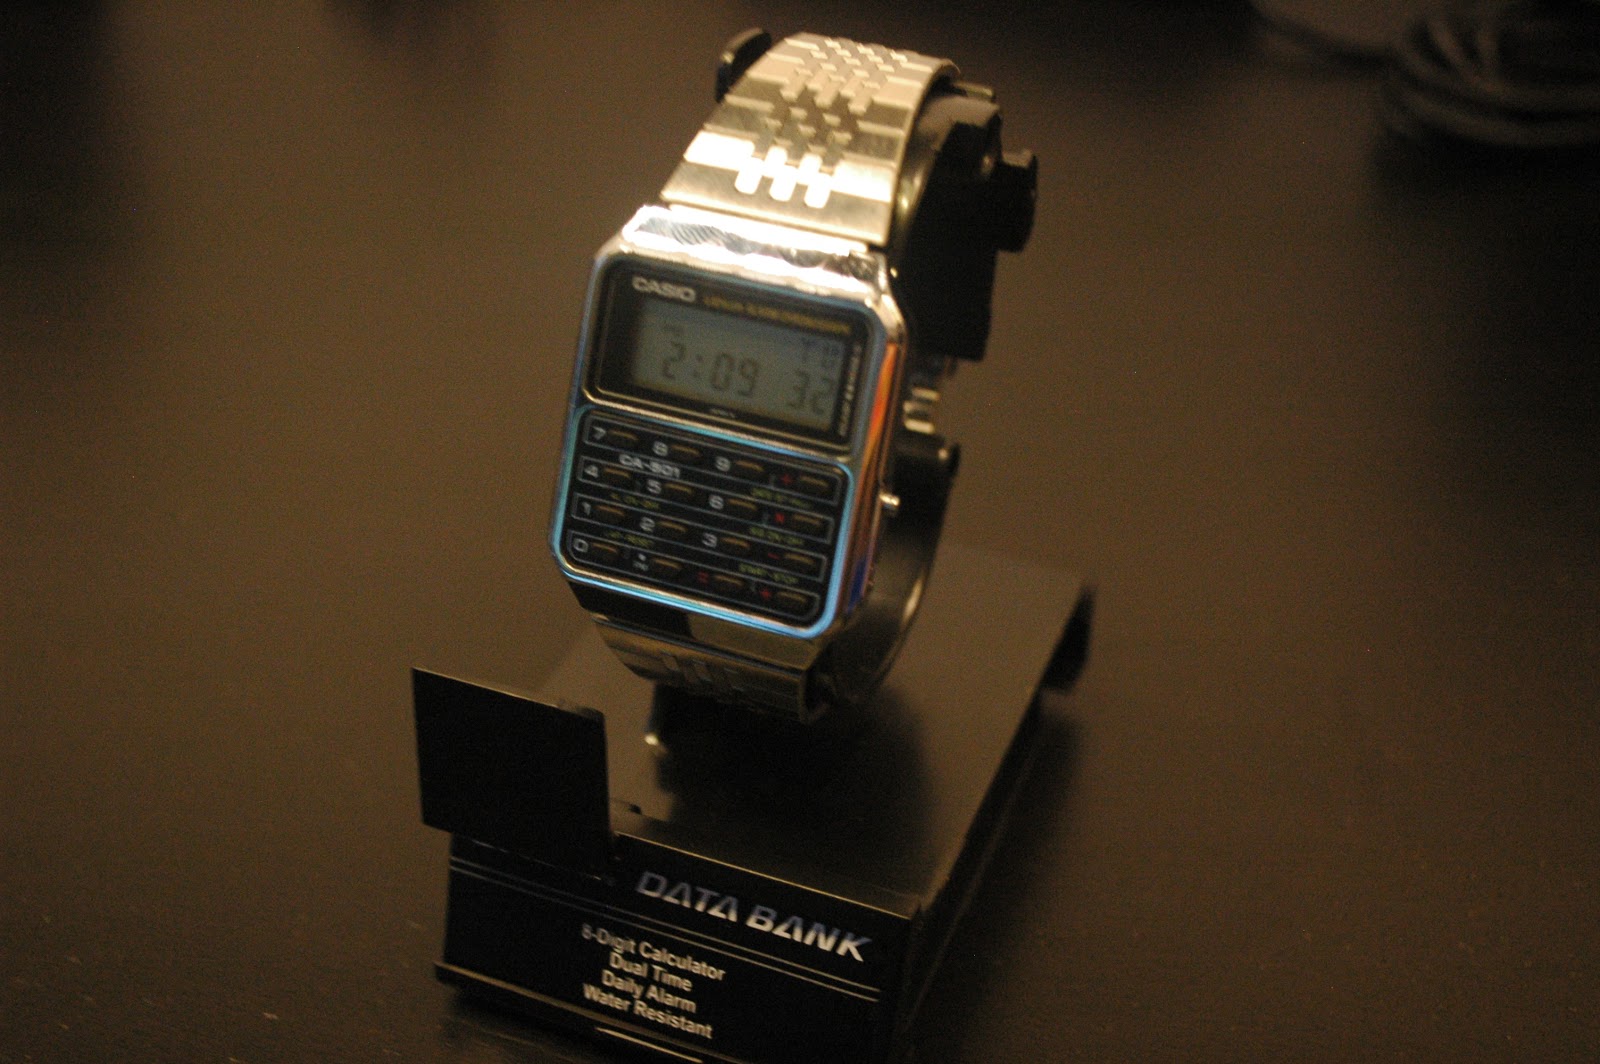
A beautiful functioning CA-501.


I hope this was helpful. Use this knowledge to switch out Casio modules. For example, the Casio A159 uses the same module as the A158 and the ubiquitous F91.

Have fun!

Sunday, September 1, 2013

Star Trek Target Practice

I guess I was watching a bit too much Star Trek with my brother. I decided to make a phaser.

Some of you may know that there are multiple types of phasers. I modeled mine after... Whatever it looks like:


I think I was going for Type 2 Phaser 2265, but it turned out a little different.

Here is a video on Youtube describing how it works and all of that.

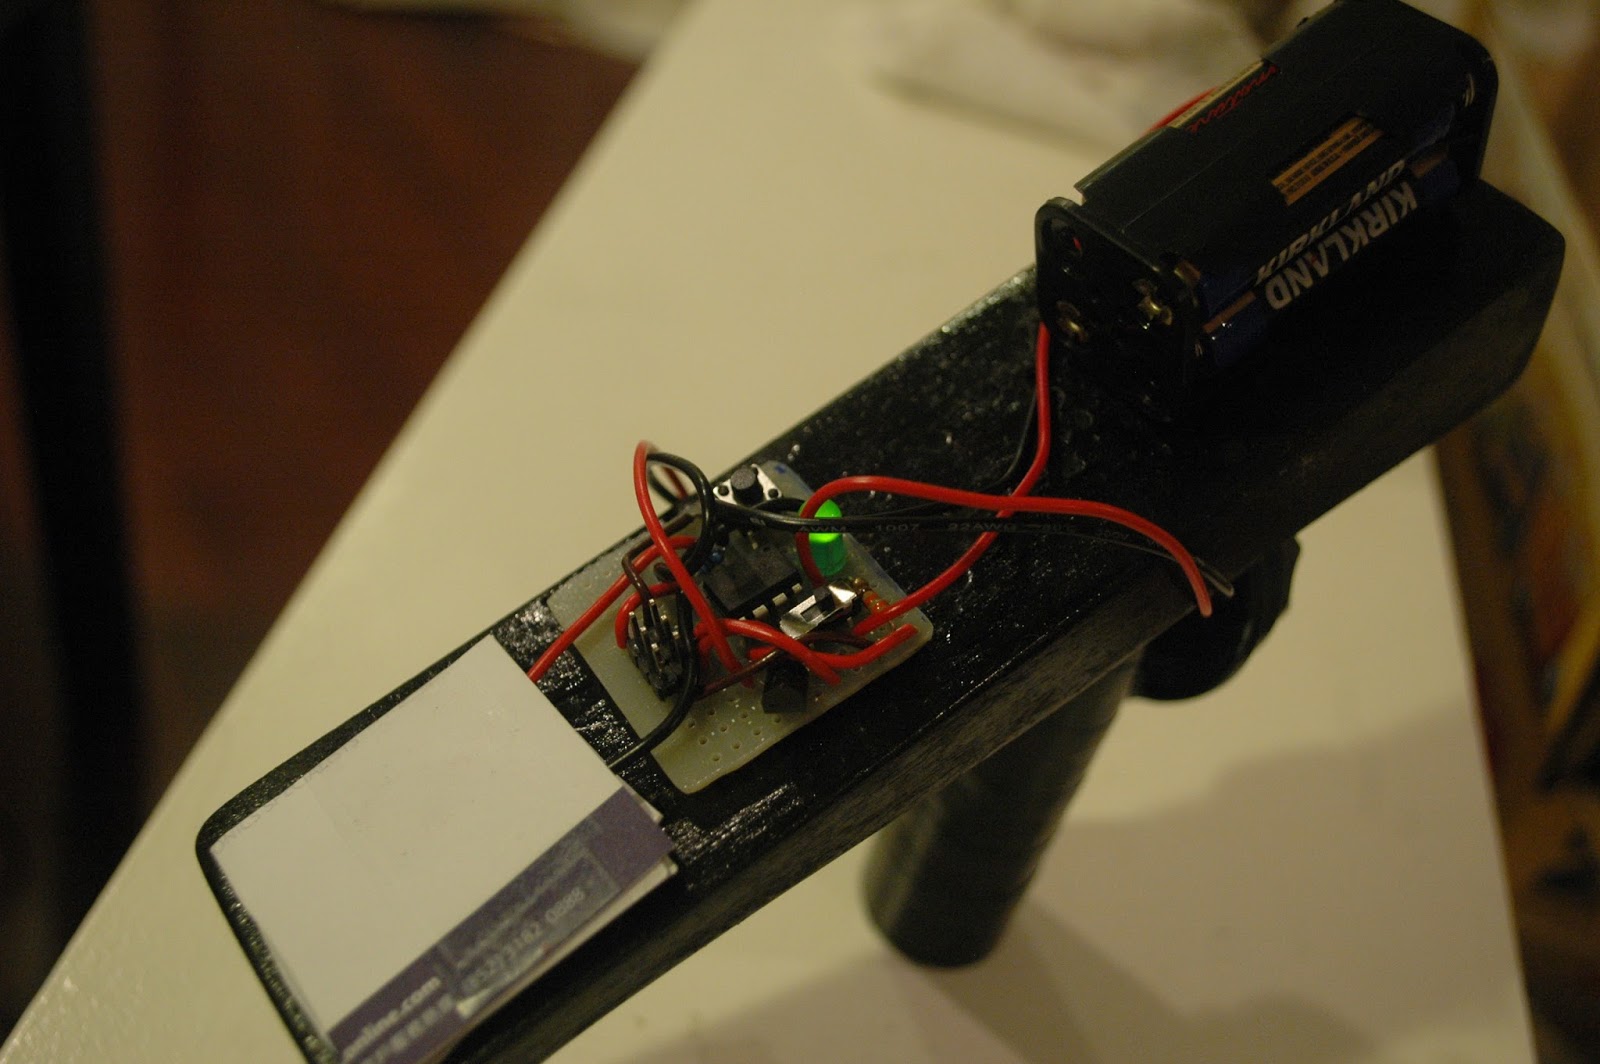
Like I promised, schematics and pictures!


What you might see inside when you take apart a calculator:

You should mark down where you can solder the four wires:
Vcc, GND, = sign 1, = sign 2


This is just for fun: One dollar scientific calculator. The inside is a sheet of plastic as a PCB! 


How did I build the Phaser?


I had this old scrap wood, it was triangle shaped. I asked my brother to sand it for me. He did an excellent job.
Then I cut an old cardboard tube in half (on an angle).
I found an old bottle cap and drilled a hole in it, for the trigger

Paint everything glossy black, glue it together neatly with hot glue.
Make the circuit, glue those things on too.
In the end I ended up with a pretty solid toy phaser.


If you have the schematic it should be pretty straight forward.
Here is the code: http://txtup.net/HQ8Eg

Here it is also:

/*
this is a phaser for fun. makes laser shooots, zappy noises, reloads needed.
really fun
tswang 8/27/2013
attiny45
reload button is the reset.
*/
int setting = PB2; //stun or kill
int outled = PB0; //energy level (analogoutput pin)
int noisepin = PB4; //buzzer
int laser = PB1; //the laser
int trigger = PB3; //trigger
int clipsize = 6; //this is how many phases you have.
int shotaken = 0;
int noise;
int noisend;
int incrmnt;
int brightness;
void setup(){
  pinMode(setting ,INPUT);
  pinMode(outled ,OUTPUT);
  pinMode(noisepin ,OUTPUT);
  pinMode(laser ,OUTPUT);
  pinMode(trigger ,INPUT);


  for (int brightness = 0; brightness < 255; brightness++){
    analogWrite(outled, brightness);
    delay(10);
  }
  if (digitalRead(setting) == HIGH){
    for (int shotaken = 0; shotaken < clipsize;){
      if (digitalRead(trigger) == HIGH){
        kill();
        shotaken = shotaken + 1;
      }
    }
  }
  else{
    for (int shotaken = 0; shotaken < clipsize;){
      if (digitalRead(trigger) == HIGH){
        stun();
        shotaken = shotaken + 1;
      }
    }
  }
  for (int brightness = 255; brightness > 0; brightness--){
    analogWrite(outled, brightness);
    delay(5);
  }
   
}
void loop(){
  digitalWrite(outled, LOW);
   
  if (digitalRead(trigger) == HIGH){
     
    outofammo();
  }
  else{}
}
/*************************************************/
void stun(){
  digitalWrite(laser, HIGH);
  for (int noise = 0; noise < 1000;){ 
    digitalWrite(noisepin, 1);
    delayMicroseconds(noise);
    digitalWrite(noisepin, 0);
    delayMicroseconds(noise);
    noise = noise + 1;
  }
  digitalWrite(laser, LOW);
  delay(100);
}
void kill(){
  digitalWrite(laser, HIGH);
  for (int noise = 2000; noise < 2500;){ 
    digitalWrite(noisepin, 1);
    delayMicroseconds(noise);
    digitalWrite(noisepin, 0);
    delayMicroseconds(noise);
    noise = noise + 2;
  }
  digitalWrite(laser, LOW); 
  delay(100);
}
void outofammo(){
  for (int blasted = 0; blasted <5; blasted++){
    for (int ammo = 0; ammo < 100; ammo++){
      digitalWrite(noisepin,1);
      delayMicroseconds(500);
      digitalWrite(noisepin,0);
      delayMicroseconds(500);
    }
  delay(30);
  }
  delay(100);
}


I hope it keeps it's formatting. Go have fun with it!