Showing posts with label engraving. Show all posts

Sunday, January 10, 2016

Printing on Lighters

In a previous post I showed how to engrave a metal lighter:
http://tsjwang.blogspot.com/2015/09/bang-bang-zippo-engraving.html

If you tried this method on a disposable lighter, the lighter would probably burst. You'd be making the walls thinner on a plastic container that's already under a bunch of pressure.

So what if you want to customize your a lighter?

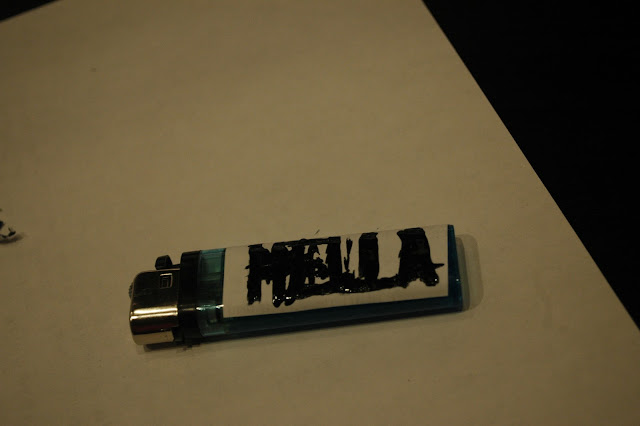
Ayy

This is the first one lighter I personalized. (those splotches are totally intentional)


The second lighter I tried (the fading was not intentional)
Inspired by this Vic Mensa:
 
The story behind "SAVEMONEY": https://www.redbullsoundselect.com/artists/SaveMoney


The method I used was similar to the way t-shirts are silkscreen printed. Just a stencil and some paint.
This particular lighter I'm printing for a friend :D

Get a lighter. 
The Dollar Tree sells lighters at a really nice price. Bic Lighters usually cost $1 - 2.
At the Dollar Tree, a pack of three lighters costs $1. The also come with adjustable flame in case you needed to use your lighter as a flamethrower for self defense.
A pack of two Scripto lighters (better quality) also costs $1.
Things generally cost $1 at the Dollar Tree.


Get a design down. Featured above, common slang used in San Francisco.


Print


Break out the scissors and gluesticks!


Glue the cut out onto the lighter. Make sure it's firmly impressed onto the lighter on the position you want.


Use an X-Acto knife to cut out horizontal lines first. Cut from left to right.


After that, cut from top to bottom.


All the letters removed. 


Apply your sister's nailpolish.


After it dries for 30 minutes, rinse the paper portion of the lighter under water. I don't think you want to submerge the whole lighter if you want it to work in the future.


When the paper is wet, it's a lot easier to peel off. The gluestick glue also dissolves in water, which is a big help.


 After all the paper is peeled off, scratch off any blemishes and apply a coat of transparent lacquer (clear nailpolish)!


And now you just wait for it to dry.


This method isn't only applicable to lighters. You could print on anything you shouldn't engrave or want color on, like your TI N-Spire, your phone case, etc.
In the near future I think I would like to try printing some logos. Maybe I can start selling some Gucci Chanel Rolex lighters...

I hope you learned! If you try this out, please post pictures of what you made!

Saturday, September 19, 2015

BANG BANG Zippo Engraving

I haven't written a blog post in a long time (for more than a year actually). This is mainly because I find Instructables.com to be easier to put work out and document steps with.

http://www.instructables.com/id/Hand-Engraving-Zippo-Lighter/

But since I have English assignments to write blog posts, I think I will resume again.

This was a project from a year ago but I never got around to documenting it.
Last summer I got obsessed with Zippo lighters. I always loved lighters beforehand, but I thought these were especially cool.
The difference between a Zippo and a regular Bic: Zippo uses wick and lighter fluid while Bic is butane. Zippo likes to brag about their windproofiness which actually isn't that great.

I bought a lighter for $7 and I really wanted to personalize it. Beforehand it looked like this:

Just a regular chrome lighter.

 Afterwards it looked like this:


yeeeeeeeeeeeeeeeee

So I'm going to go through the steps.

First you want to figure out what you want to engrave. You want to scale it and print out the design (actual size) on paper.

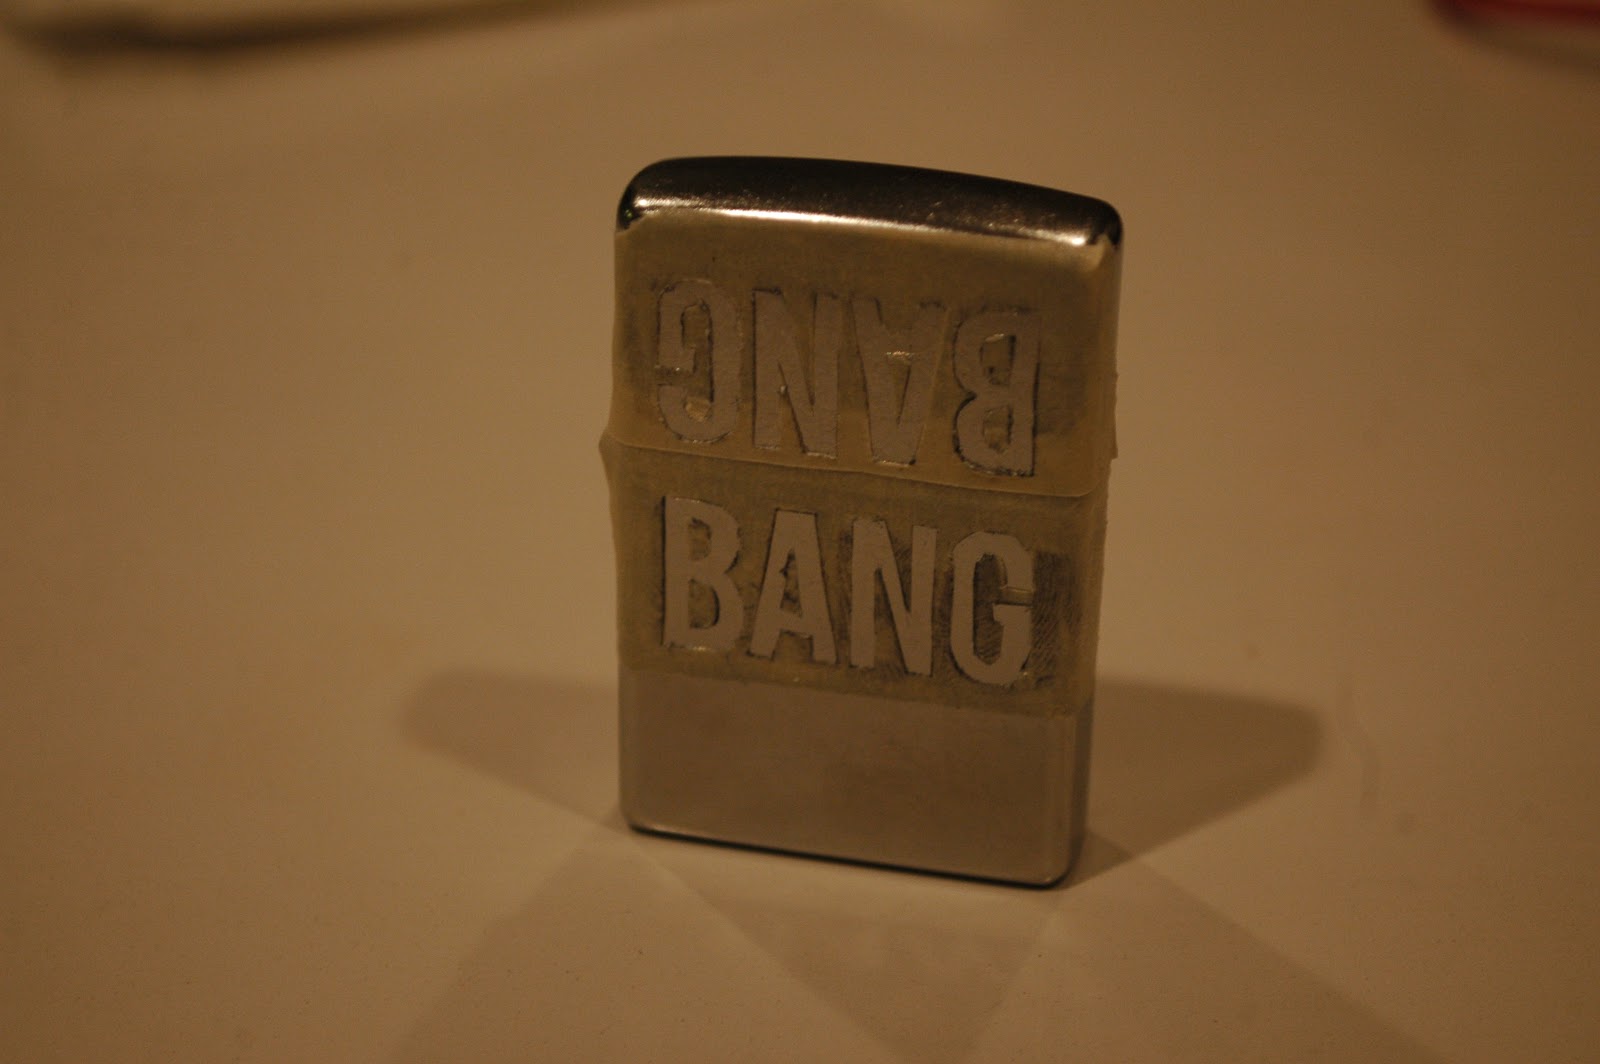
These  the concepts. As you can see it says "BANG" on both sides, and when the lighter is opened it says "BANG BANG" haha clever right?!


Then you print them out.

So after printing out the stuff correctly on paper, put some glossy tape over the paper


Then you put on masking tape where it printed. Feed the paper back into the printer and it should print back on the masking tape. We're essentially printing out a sticker. The glossy tape is to assist removal of the masking tape.

 This was my first time ever engraving something, so I wanted to engrave a piece of scrap metal before ruining my $7 lighter. I found a CD player case and engraved the draft on that.


Put the masking tape on your metal


Use an exacto-knife to cut out the letters


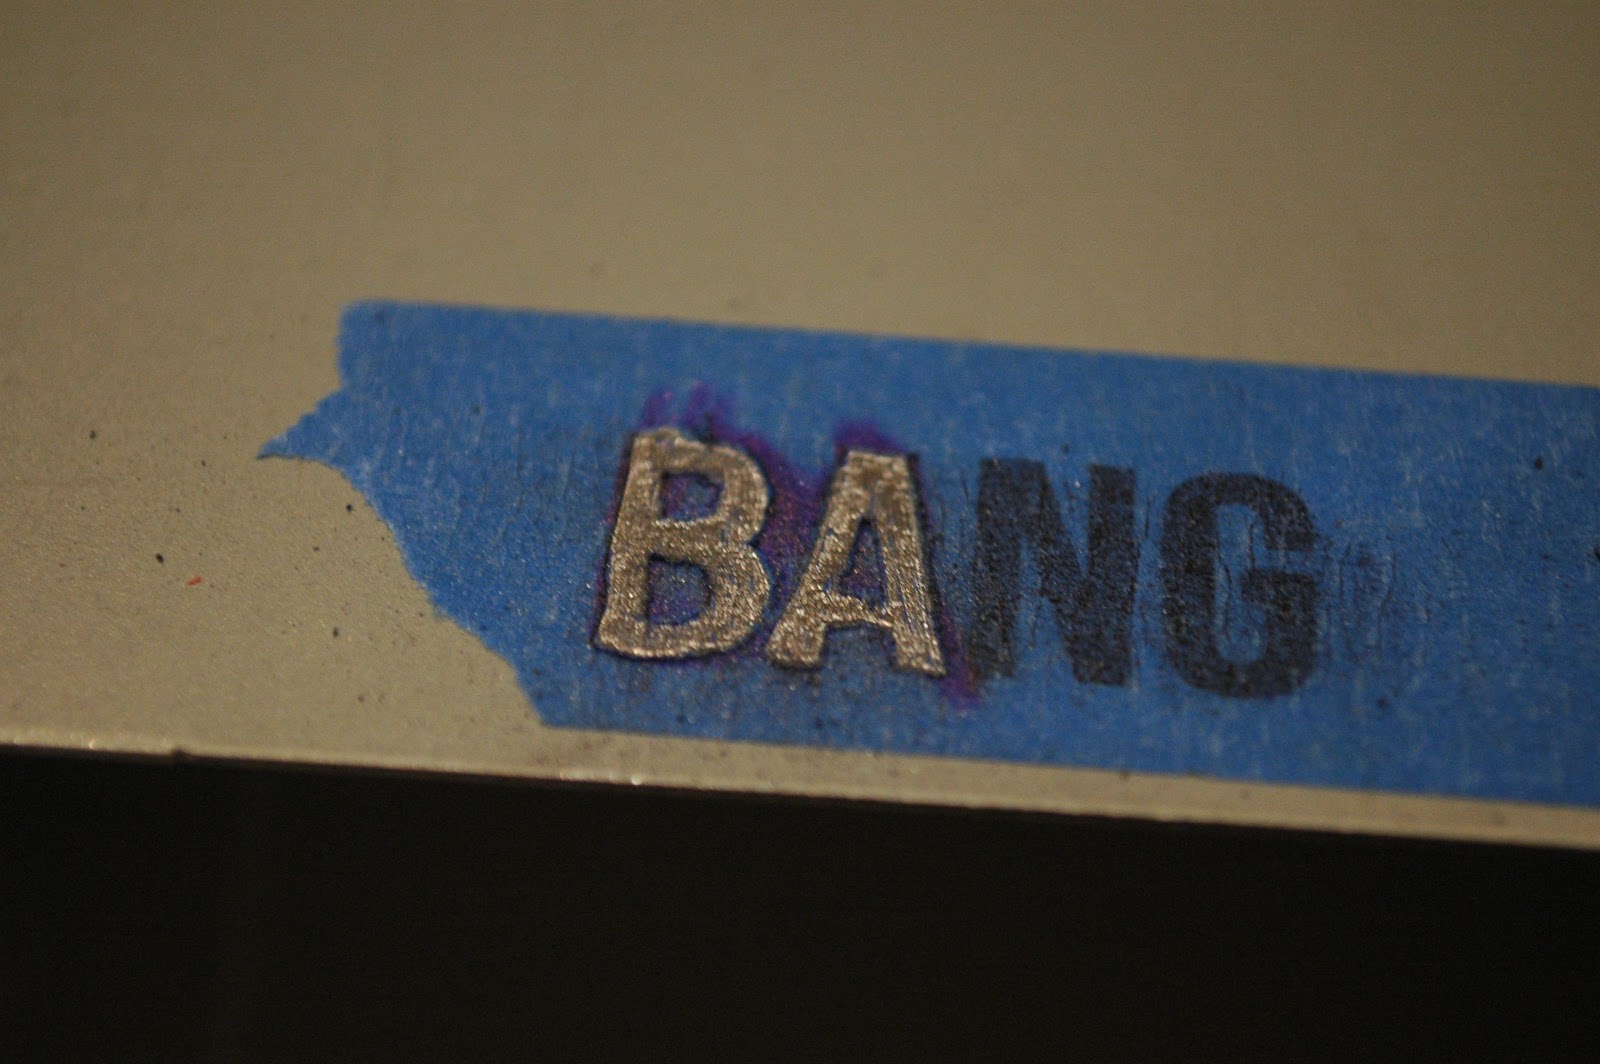
Fill in the metal areas with sharpie. This way you can tell if a section has been engraved or not; color indication.


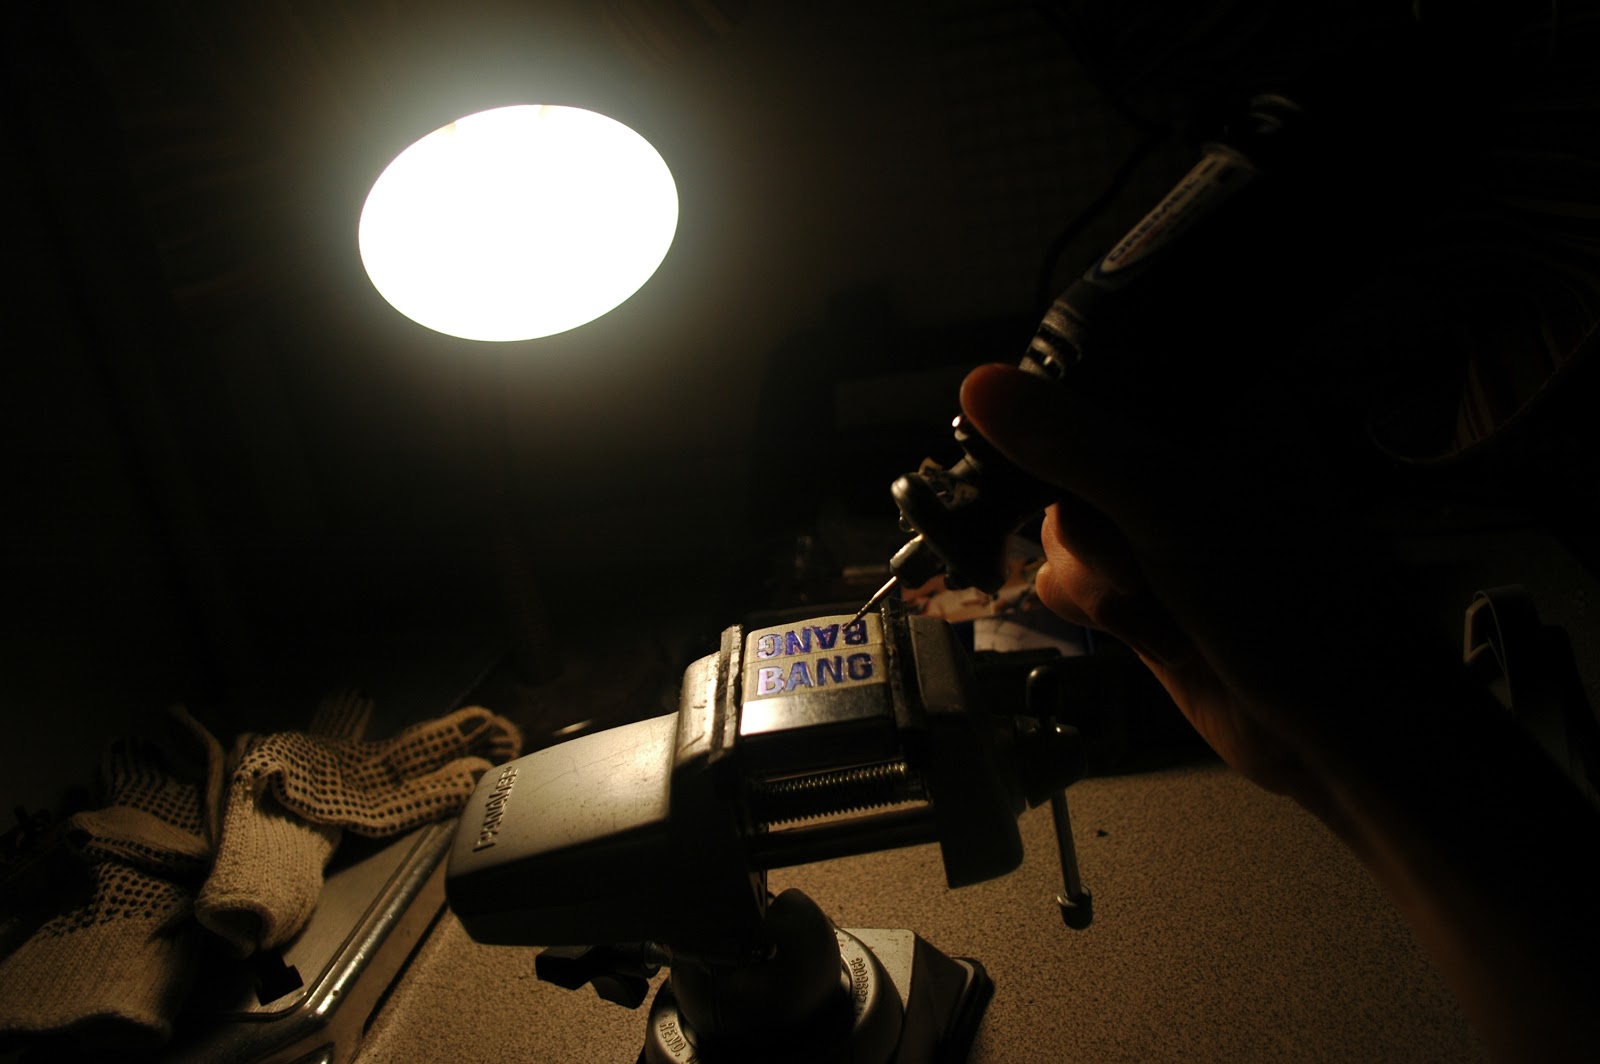
I couldn't really take pictures of the dremel in action because that would be dangerous, but this is what happened.


Not bad. Time to move on.

So I basically repeated the steps for printing. This time you see I used lighter colored masking tape.


Before you engrave, take out your insert. If it's filled with fluid, you might want to put your insert in a ziploc bag so it doesn't evaporate.


Tape your lighter case shut.


Place your sticker masking tape over where you want to engrave. This step is IMPORTANT. Make sure you place it right.


Start cutting out the letters with an exacto-knife.

This is how you peel out the letters.


It's all cut out.


Color in where you want to engrave.

Not real live engraving footage but you can see the idea. 

My garage is really dark.


As you can see, Zippos are brass. I can tell I'm done engraving a letter when I see brass and not blue sharpie.

One BANG done.

It look's pretty nice.


After you're done engraving, take all the tape off and wash off your lighter with acetone.

Annddd you're good!


Appreciate your shiny brass for one day before it starts oxidizing and getting dull.


So that's how I engraved my Zippo for the first time. It took a lot of effort.
Over time I got lazier when I engraved things. Below is a video of another lighter engraving I did. It requires less steps and yields pretty much the same results.
Bask in all of it's over-editted glory and admire the edginess of the lighter.


Thanks!