Awesome:
My definition of awesome:
- cheap
- easy
- practical
- awesome
I was searching for a way to build a VU meter. Before microcontrollers, all my projects were audio based: I just wanted to find ways to make my desk/room/life awesome. I built amplifiers, blinking lights, speakers, etc. I wanted to build a VU meter, so I fould the LM3916/3915/3914 family.
LM3916
I heard/read that this chip works logarithmically. That means that each LED that lights up is one decibel.
Of course, like all the other chips in this family, it runs on 6v or higher and has the option of dot display (one dot) or bar display (bar VU).
LM3915/3914
I think these two are almost the same. This chip works linear, so it isn't great for measuring decibels, which is logarithmic. It runs on 6v or higher, and has the dot display or bar display option.
So anyways, I built a few of these VU meters, the first ones being failures.
I don't even have pictures of it: It was my first attempt at double sided PCB and I failed pretty badly. It was operated by a microphone, ran on 9v, and had an LM386 as an amplifier.
In those days, I learned that the less components you use, the better the circuit works (I was guessing and checking). For example, I built an LM386 amp that week and I took away a bunch of capacitors and resistors and the end product was amazingly better than the original schematic.
So, I used that philosophy to build this. I ended up with a USB powered VU meter with only a chip and 10 LEDs as necessary parts. Everything else is optional.
The Chase
Let's cut to it.
Here is a video of my 3rd VU Meter. My second one is the same, but with a wire instead of a plug.
The audio is gone: it was Hotel California...
That's the third one. I decided to make a new one, one with a more flexible profile, so let me show you how I made it...
FIRST
Choose your chip...
and buy THESE LEDs. I'm not sure if other LED's will work: these LEDs work well at low voltages.
QE9s3HD)CvBRV9GSRfl!~~60_12.JPG)
I found these on ebay for pretty cheap. $5 for 100!
Next, just look at all these pictures...

Design

Print design onto transparency

Ready the developer, Plexi-glass, and PCB

Arrange design onto PCB, place plexi-glass on to, and light it up.


Meanwhile get the materials
- LM3916/3914/3915
- Resistor (or jumper, depends on if you like loud music or not)
- Audio plugs
- 5 SMD LEDs

8 Minutes,

place in developer

let it set out

Looks about right

Clean it up if needed

Start etching


Clean with acetone


Drill holes

Steady the board. Get your tweezers and your SMD LEDs. Add a blob of solder on one end of each SMD LED pad.

Solder one side of it

Reheat the joint and slide in the LED

Finish soldering the other edge


Looks like I forgot to drill some holes
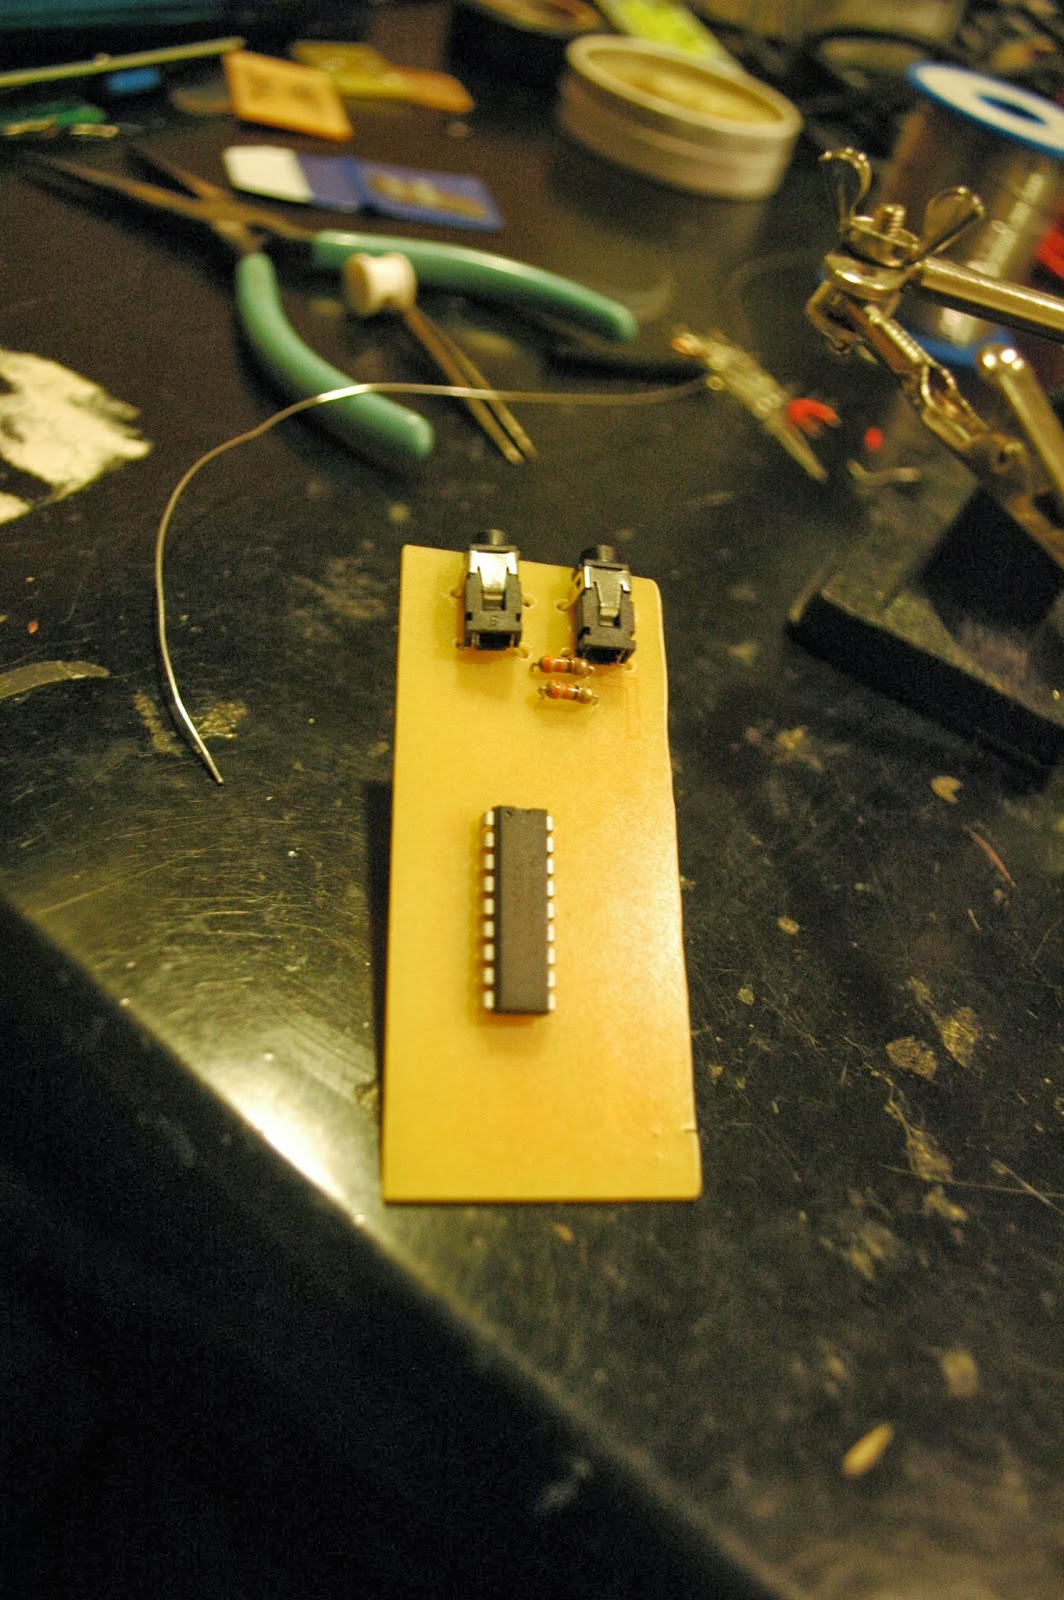
Add top components and finish

Wow

much cool


Once you test that it works,

Clean it and

Cover in nail polish.

wow.